Here it is folks.

- no need to buy any expensive software this is FREE!
Be sure to read the README and the CCL_README included.
One is the creative commons and the other is instructions on how to use everything and install it.I also include some helpful tips on not having to edit the glyph blocks in the PHF file.There are some looks into the code itself also, and what each block contains. I suggest you look into that if you want to play with the code.
SYSTEM REQUIREMENTSAs far as i know this plugin only works for Windows and MAC.I include links in the README to download the plugin for using the phf fonts you create. -
http://www.fontlab.com/photofont/photofont-start/Whats in the file1) the readmes - instructions and important information on Creative Commons license
2) the xcf template - all letters (CAPS only) - numbers 0 - 9 and a few common symbols like exclamation point, question mark, period, comma. You can add to this yourself.
I included almost all unicodes in the PHF code so for dollar just create a new layer with the text tool to make a dollar sign and create a path for it. Then name that layer dollar.png.Then place that dollar.png file in the
C:\Documents and Settings\YourUserNameFolder\My Documents\Photofonts\images folder.
3) the complete phf file - with all map id unicodes. If you decide to add unicodes remember to place them in correct order in the glyph blocks.For instance if you place a new unicode for a symbol after a in the map id, make sure its placed after the a in the glyph blocks.
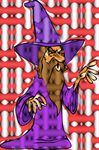
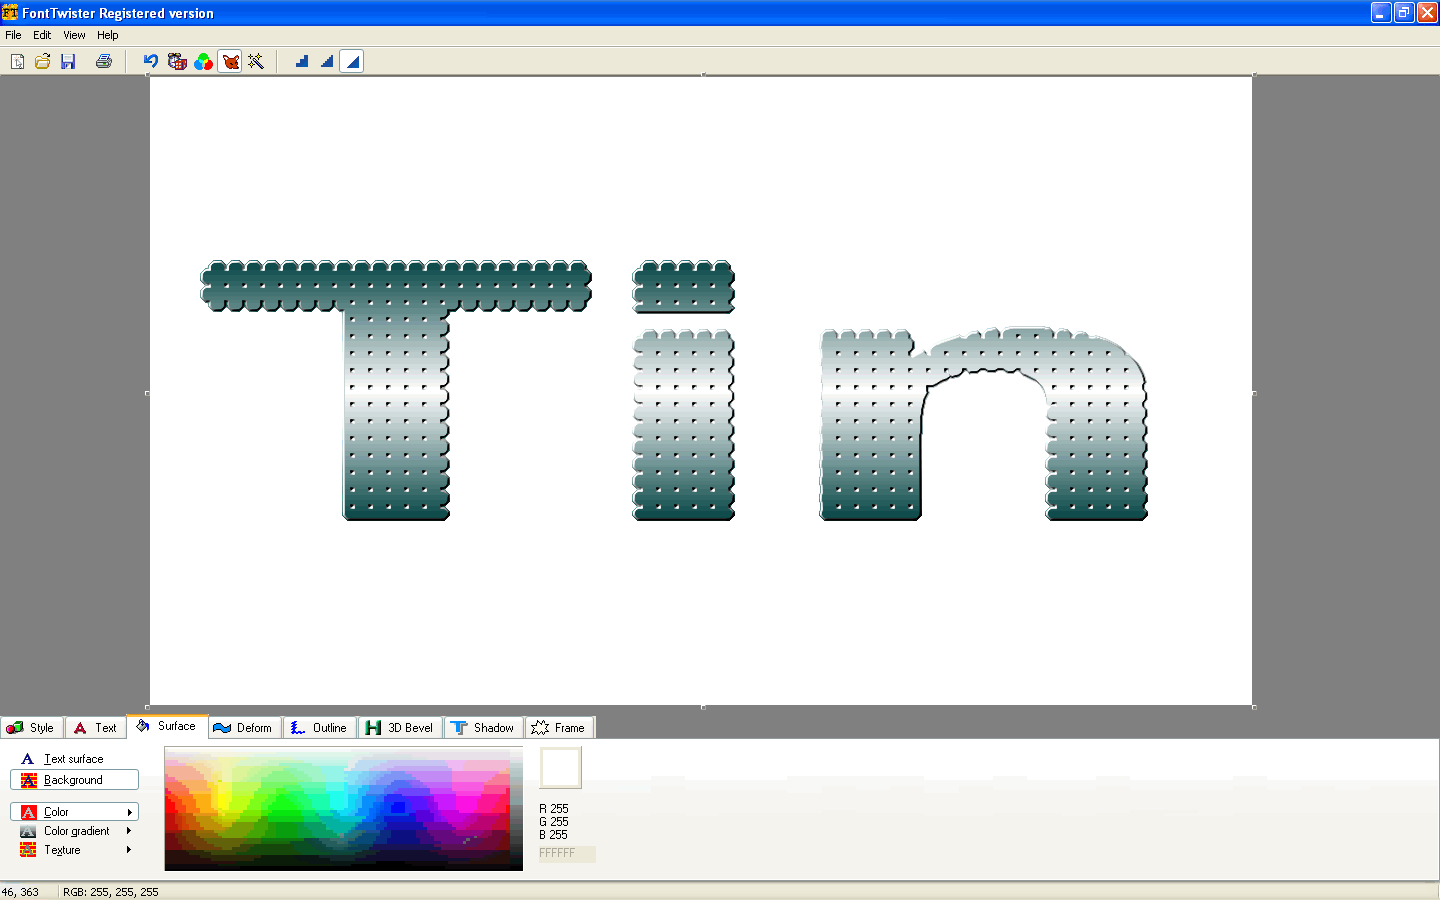
4) Broken Blue Bevel glyphs. Created by me so use them however you wish.
TO INSTALL-Gimp (if not for Gimp there is no need to install PSPI)
1) Download - PSPI (photoshop plugin for Gimp) -
http://tml.pp.fi/gimp/pspi.htmlhttp://www.instructables.com/id/Photosh ... g-In-PSPI/2) Download the Photofont Start plugin - install it where you install your Photo Shop plugins.
http://www.fontlab.com/photofont/photofont-start/ - open Gimp and create the PSPI path.Close Gimp.
3) Now go to C:\Documents and Settings\YourUserNameFolder\My Documents\Photofonts folder and place the PHF file in there.
4) Create another folder in the Photofonts folder. Name it - images
Create another folder inside images name it - nonCaps.
5) Download the export layers as png script here -
http://registry.gimp.org/node/18440 (python is needed for this script) -
http://registry.gimp.org/node/25394 for SCM - Install the Python file in your plugins folder.Install the SCM in your scripts folder.
6) Open the xcf file in Gimp and create your font/glyphs - its important that you name them correctly so name them A, B, C, - name the number layers zero, one, two and so on.I included a id map in the README so check that out for correct image naming.
Once you save those images in the Photofonts/images folder they are auto installed, and there is no need to restart Gimp.
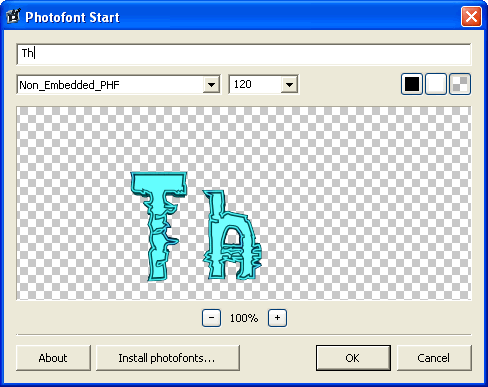
- so now just go to Filters>Fontlab>Photofont Start and look for the installed font in the drop down list.
The name is Non_Embedded_PHF.
Type your text and there you go.
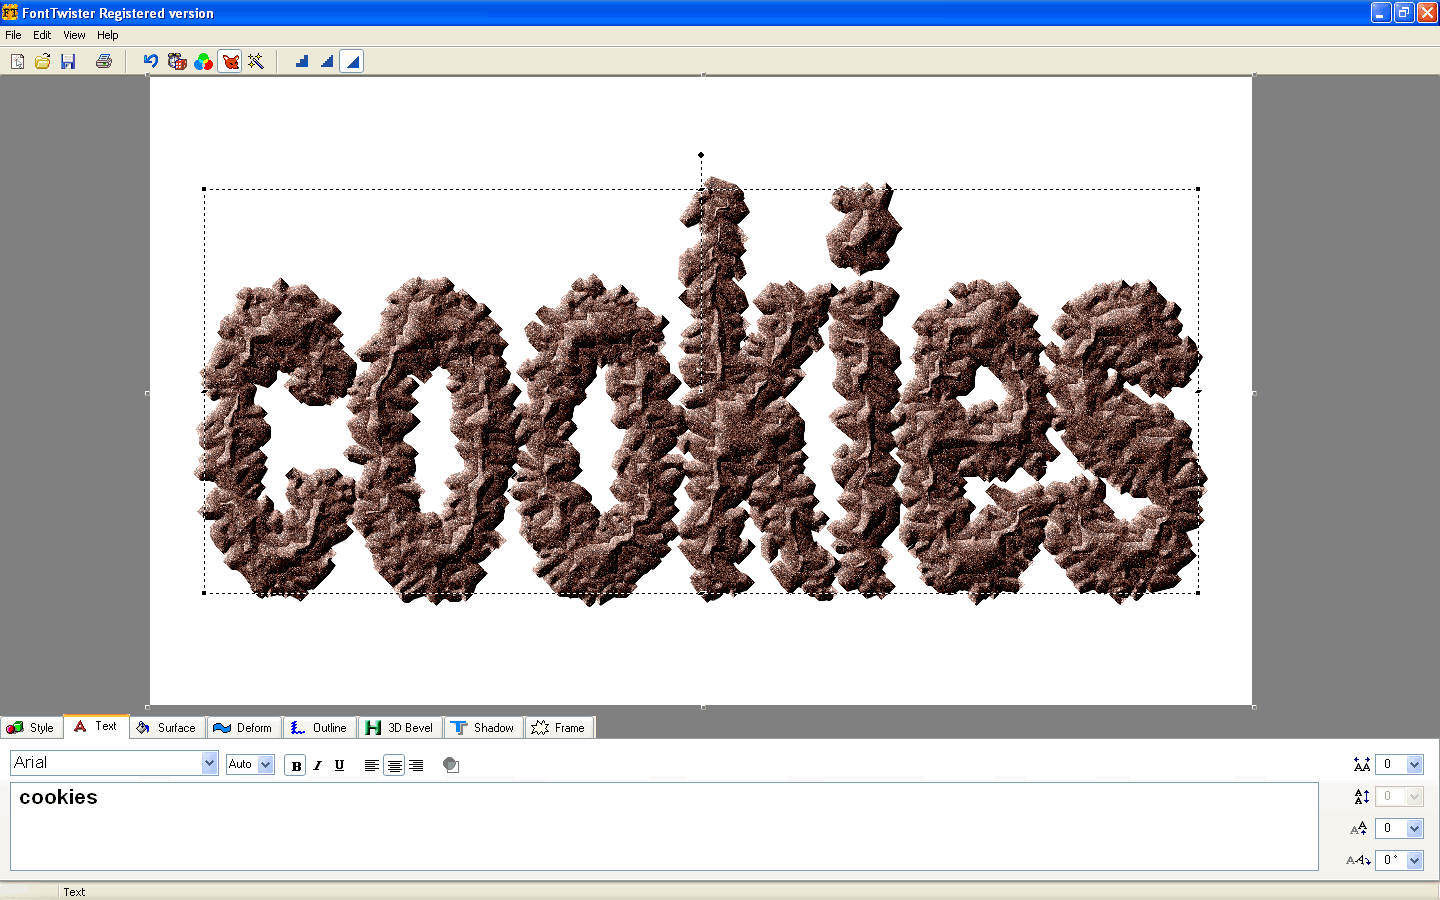
I found this website image today - very cool!
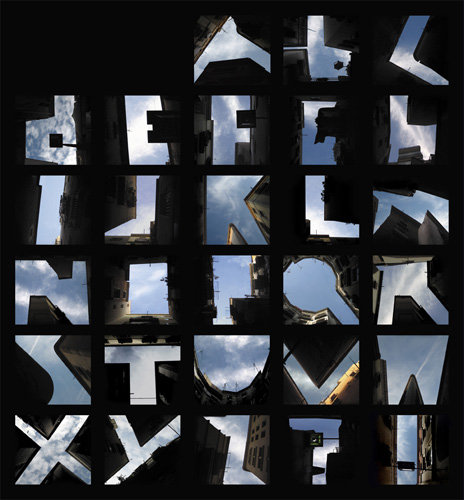
Website and story of image can be found here.Just an example of what you can create with phf.
http://www.slanted.de/node/1361Any problems holler at me. If anything in the zip is missing holler at me.
Thanks for all your support and help folks.This wouldn't have been possible without you.
The stuff -
Updated to 1.5 March 9th - added 3 new unicodes - updated the code - added Broken Blue Bevel font glyphs!
Updated to 2.0 March 9th - fixed kerning and baseline alignment.
Attachment:
Non_Embedded_PHF-v2.0.zip


.gif)