Esper wrote:
i was a bit afraid to open the thread when i read the title

but the results are very cool, PhotoComix !
Thank Esper
AnMal wrote:
photo comix: good results! have you tried jayprich's specular bumps filter in g'mic? i think that could give some nice highlights to the silver plate one. and i liked the title

.
No i didn't try yet ,but now i will do soon
Esper wrote:
i tried it, but my result looks bad in comparison to yours, PhotoComix....
so i blurred the original by 10 and then Levels -> Auto
used an aluminum gradient for the EnviroMap
what am i doing wrong and why is my light way too strong ?
[
Image ]
I uploaded both xcf here
https://docs.google.com/file/d/0B3PfZ2r ... sp=sharinghttps://docs.google.com/file/d/0B3PfZ2r ... sp=sharing(
Consider only the visible layers, not those with visibility switched off , neither the "negative")
1) i didn't use environmental map at all, i quoted the GnuTux tut because some of his tips on using lighten effects filter, as switch from the default to the lower value possible when use when bump mapping.
Looking the preview with only bumpmap i noticed that was exactly what i wished so i skipped E. map :
: only used bumpmap with 0,01 value
Quote:
so i blurred the original by 10 and then Levels -> Auto
Other differences here i did not use blur at all:
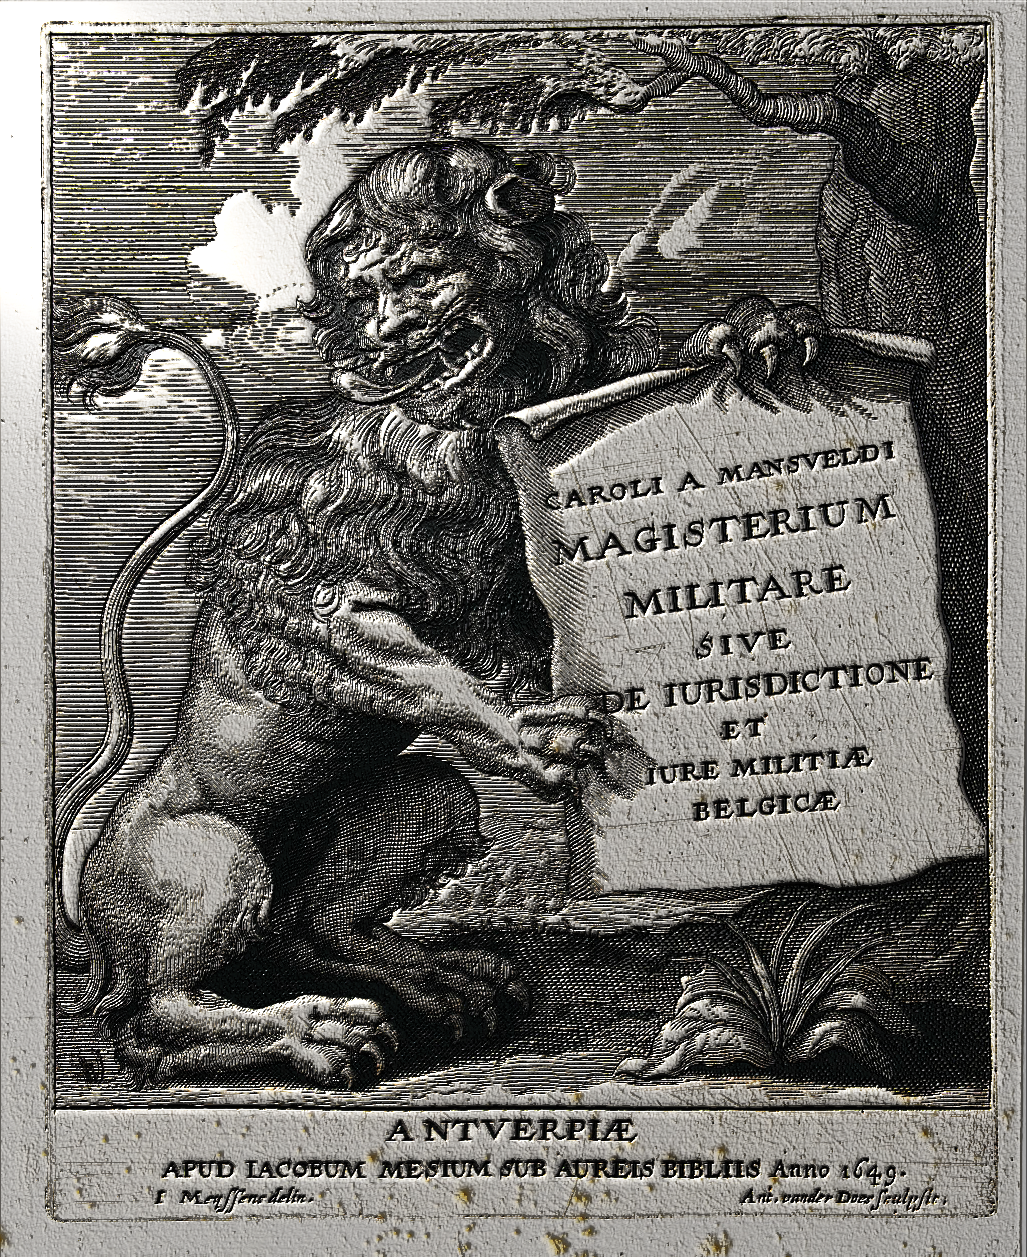
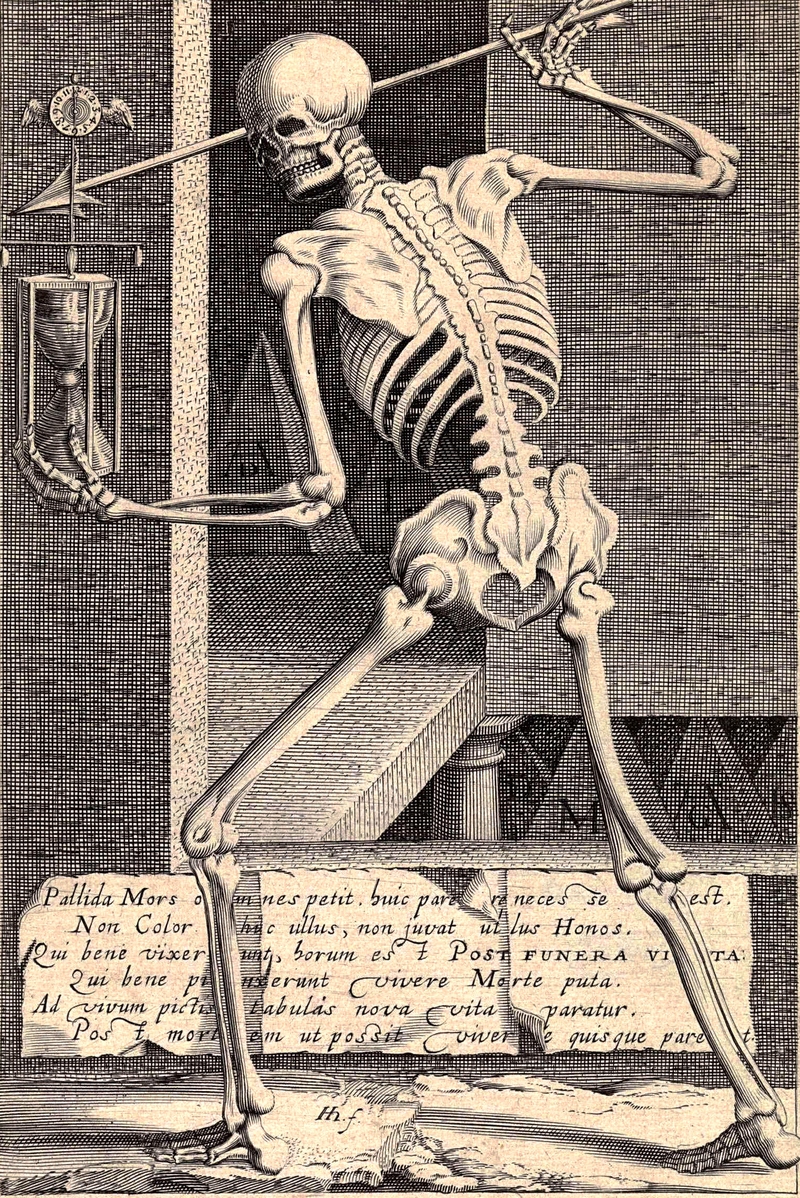
i know gaussian blur is in the steps of the first example of my tutorial ,
but if you scroll down the tut till message 4 you will found the same skeleton image used as example of a slightly different process , even more simple) :
I did not use Gaussian blur but 2 different Gmic Filter Smooth- Anisotropic and Dream Smoothing
Each used on a darkened duplicate of the original layer
Then i changed mode of the upper layer to overlay ,100 opacity, and the combination was already fine, didn't required editing with the level tool
So first i darkened the darker gray of the original,
and yes if i remember well here for some reason automatic level didn't do much, but correct manually was very simple because were almost not intermediate gray tones to take care , and was no need to modify the white tones, only to make the darker gray in the original closer to black
result was
in the tut i posted also the presets i used in Gmic (... as example i change in Dream Smoothing the merging mode )
BTW in case you found complex install preset : from the xcf , in the layer names is embedded the gmic command used , that you may copy and paste in GMIC> Various> Custom Code the disadvantage is that "Custom Code" filter doesn't allow to finetune or modify the values with sliders but only editing the code in the text field .