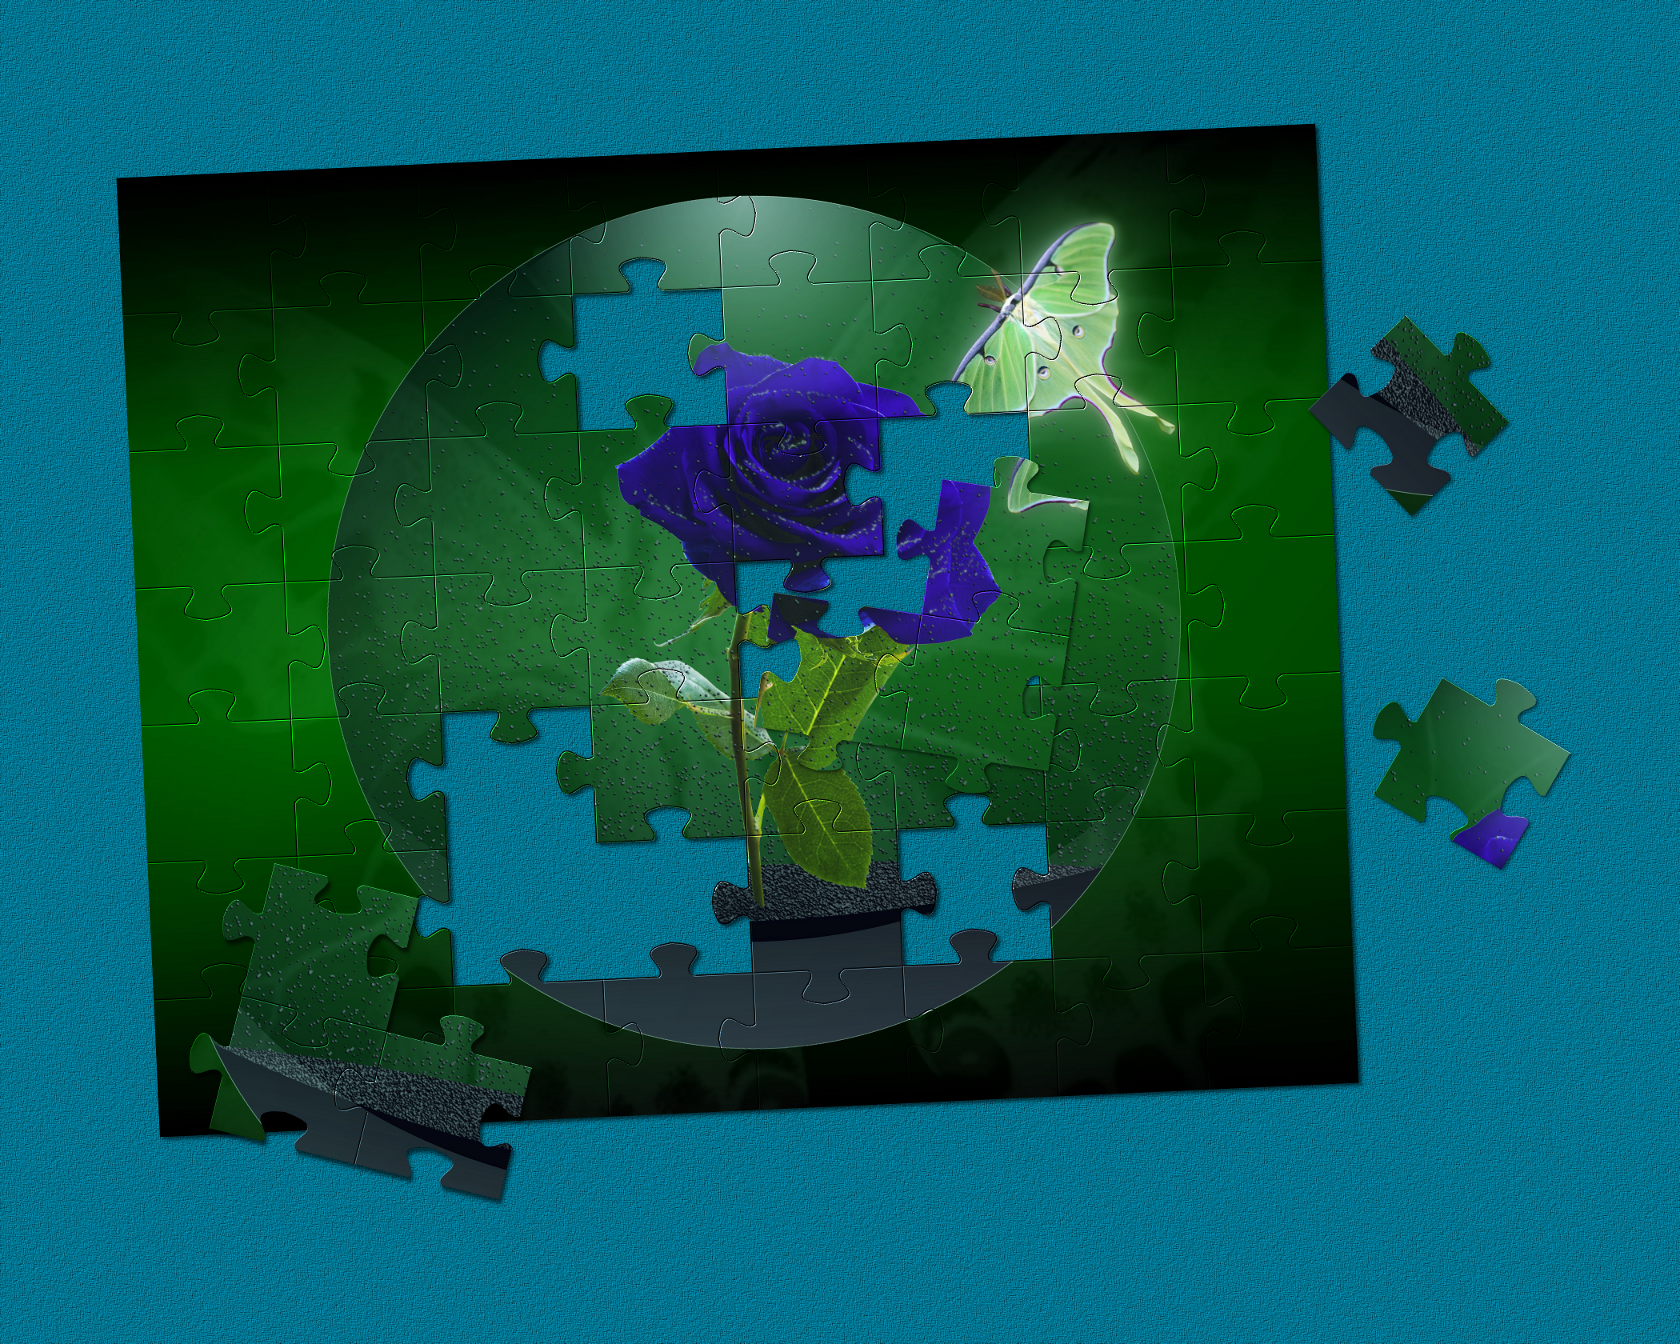
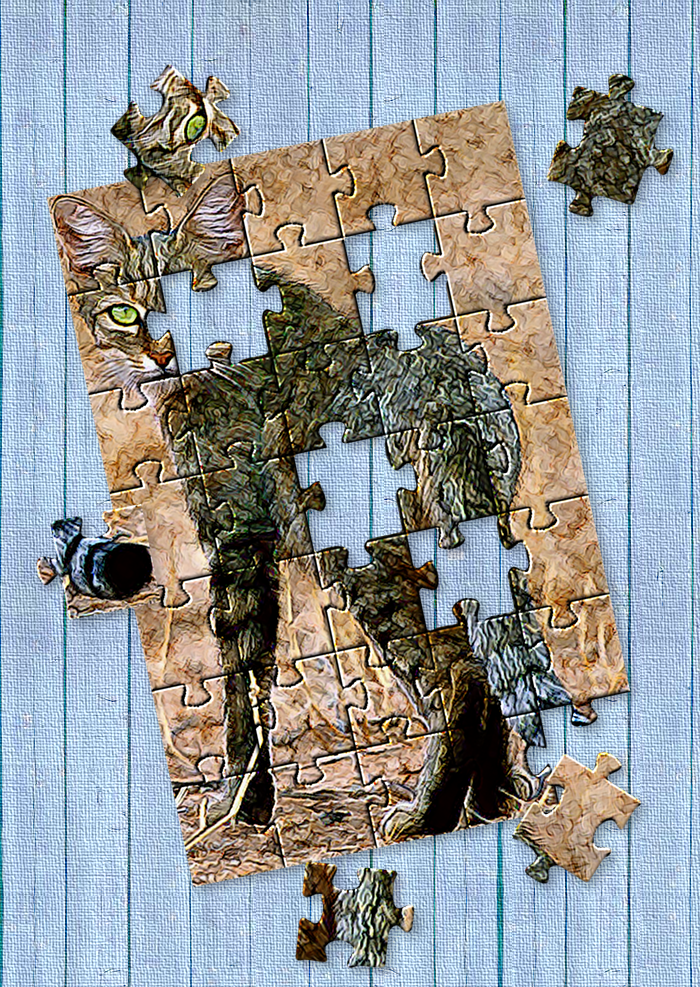
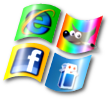
This is what the final image looks like.
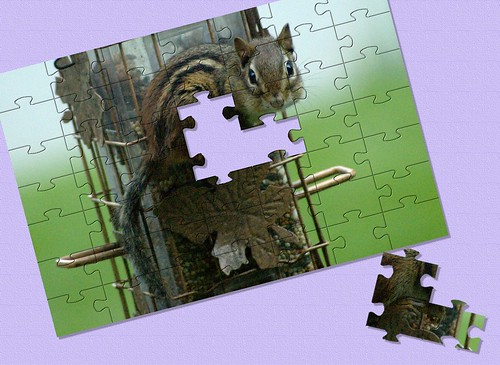 Note: This is my preferred image. When I did the tutorial, the image came out slightly different.
01) Load image of choice.
02) Layer > Transparency > Add Alpha Channel
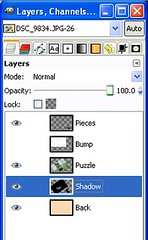
03) Name layer "Puzzle"
04) Layer > New Layer > OK
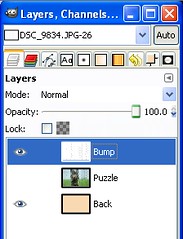
05) Rename "New Layer" as "Bump"
06) Fill new with white
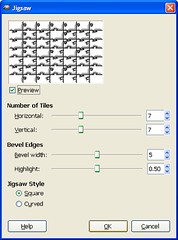
07) Filters > Render > Pattern > Jigsaw (The values shown are suggestions only. Adjust how you like it.)
Horizontal Tiles = 7
Vertical Tiles = 7
Bevel Width = 5
Highlight = 0.5
Style = Square
08) Turn off visibility of "Bump" layer by clicking eye on the layer toolbar.

09) Select "Puzzle" layer in Layer toolbar
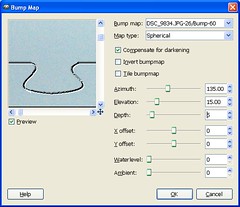
10) Filters > Map > Bumpmap (The values shown are suggestions only. Adjust how you like it.)
Bump Map = Bump Layer
Map Type = Sperical
Compensate for darkening = On
Azimuth = 135
Elevation = 15
Depth = 5
All other values = 0
11) Layer > New Layer > OK
12) Rename "New Layer" as "Back"
13) Fill "Back" layer with background color of choice.
14) Layer > Stack > Layer to Bottom
15) Turn off visibility of "Puzzle" layer by clicking eye on the layer toolbar.
16) Turn on visibility of "Bump" layer by clicking eye on the layer toolbar.
17) Select "Bump" layer in layer toolbar
18) Using magic wand tool to select pieces to remove.
19) Turn off visibility of "Bump" layer by clicking eye on the layer toolbar.
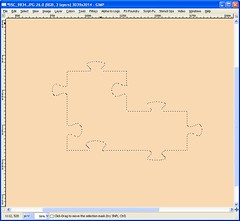
20) Using rectangle slection tool and holding shift, Select all common separators.
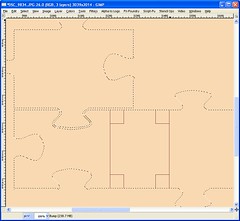
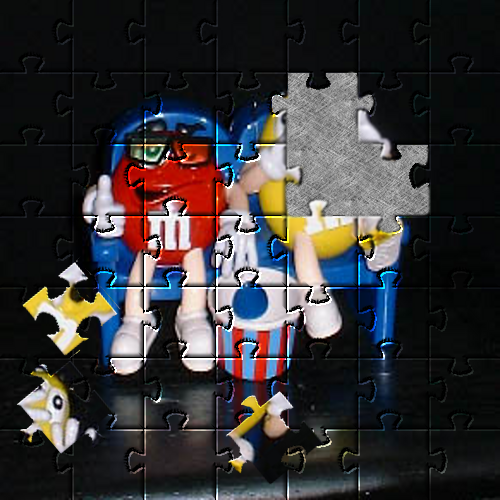
This
Becomes This!
21) Select "Puzzle" layer
22) Edit > Cut
23) Edit > Paste
Click on new layer button to make pasted selection it's own layer.
24) Name new layer as "Pieces".
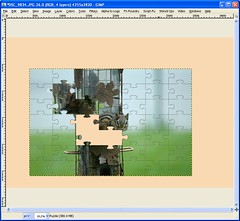
I recommend turning the visibility on and off for Puzzle and Pieces layers so you see what you have.25) Image > Canvas Size > % > 140% (The values shown are suggestions only. Adjust how you like it.)
26) Select "Back" layer.
27) Layers > Layer to Image Size
28) Re-fill "Back" layer with selected color
29) View > Zoom > Fit Image in Window
30) Select "Puzzle" layer
31) Using Move tool drag "Puzzle" layer to middle of screen.
32) Using Rotate tool, rotate "Puzzle" layer to desired angle.
33) Using Move tool, move "Puzzle" layer to desired position.
34) Repeat steps 30 to 33 for "Pieces" Layer
35) Layer > New Layer > OK
36) Rename "New Layer" as "Shadow"
37) Select "Puzzle" layer
38) Select > Alpha to Selection.
39) Select "Shadow" Layer.
40) Fill selection on "Shadow" layer with black
41) Select "Pieces" layer
42) Select > Alpha to Selection.
43) Select "Shadow" Layer.
44) Fill selection on "Shadow" layer with black
45) Select > None
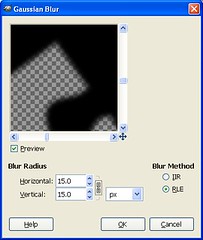
46) Filters > Blur > Gaussian Blur > (The values shown are suggestions only. Adjust how you like it.)
X = 15
Y = 15
47) Set opacity of "Shadow" layer to 30%. (The values shown are suggestions only. Adjust how you like it.)
48) Move shadow layer down below "Pieces" and "Puzzle" Layer.
49) Using move tool, Move "Shadow" layer about 15 pixels right and 15 Pixels down (Approx - The values shown are suggestions only. Adjust how you like it.).
50) Select "Back" layer.
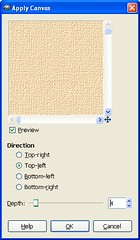
51) Filters > Artistic > Apply Canvas
Top Left
4
 When posting on-line, I suggest rescaling image smaller, keeping your full sized image intact.
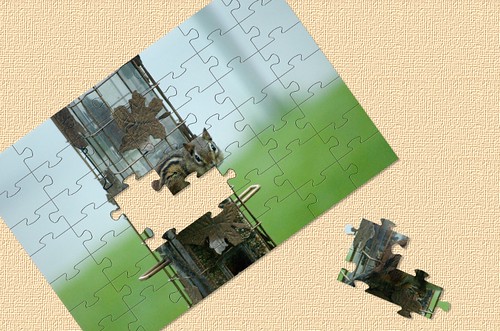 Have fun!


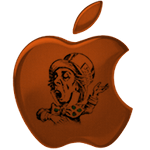

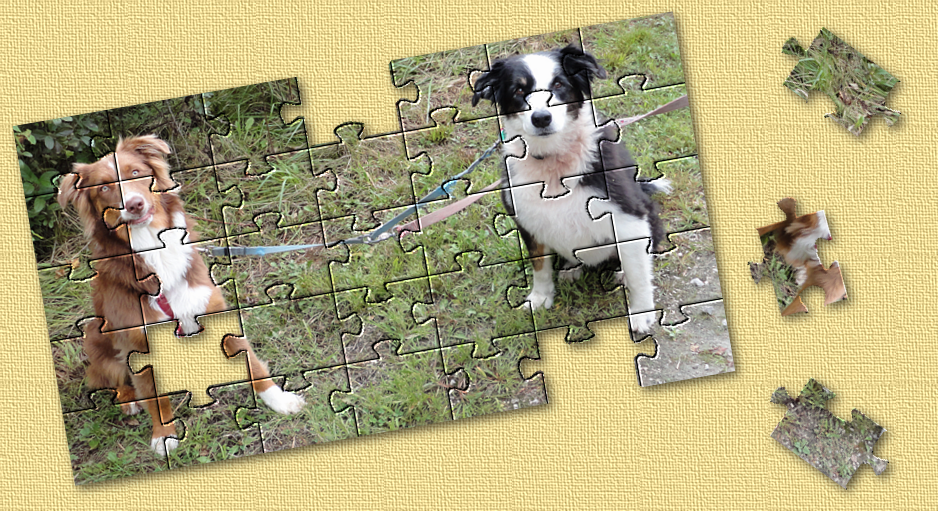
 I particularly like the curvy puzzle pieces and that's a great photo.